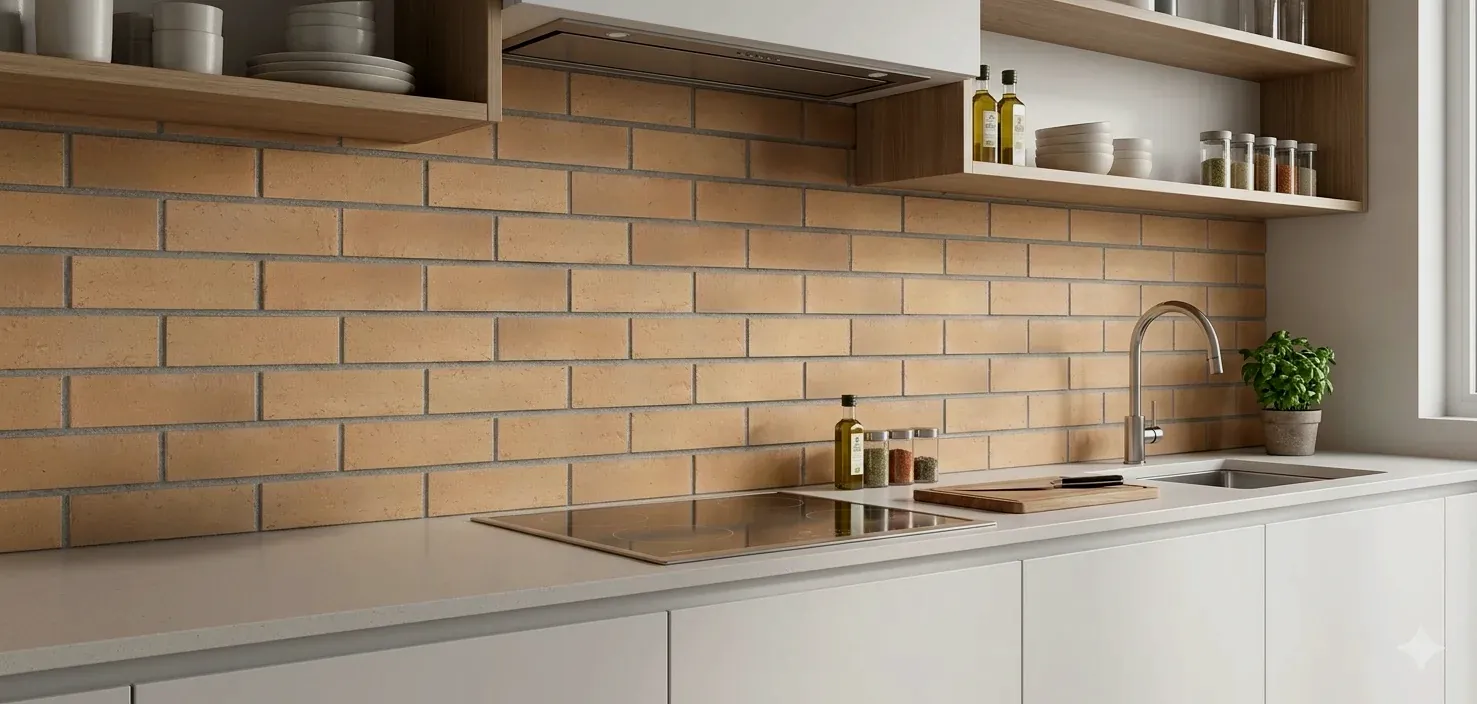
Stages: Warm brick kitchen backsplash
- 01Measured the counter, cabinets, and outlets
- 02Prepared the backsplash surface
- 03Set the field tile and edge cuts
- 04Grouted and cleaned the wall
- 05Reviewed fixtures and counter transitions
What ceramic brick tile asks for
Ceramic is fired cooler than porcelain and is more porous. In a running bond each row is offset from the one below, so the joints stagger across the wall and the cuts at the ends of each row are decided early.
Around outlets, corners and countertop edges, the layout is settled before the first full tile goes up.
Planning a similar backsplash in ceramic brick tile
A long backsplash under shelves and cabinets is measured from the counter, the cabinets and the outlets. The surface is prepared first, edge cuts are planned, and the counter transitions are reviewed at the end.
Tell us about the room and what is on the wall now, or read about residential tile installation.
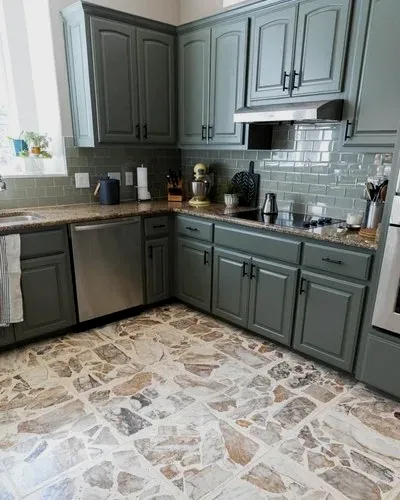
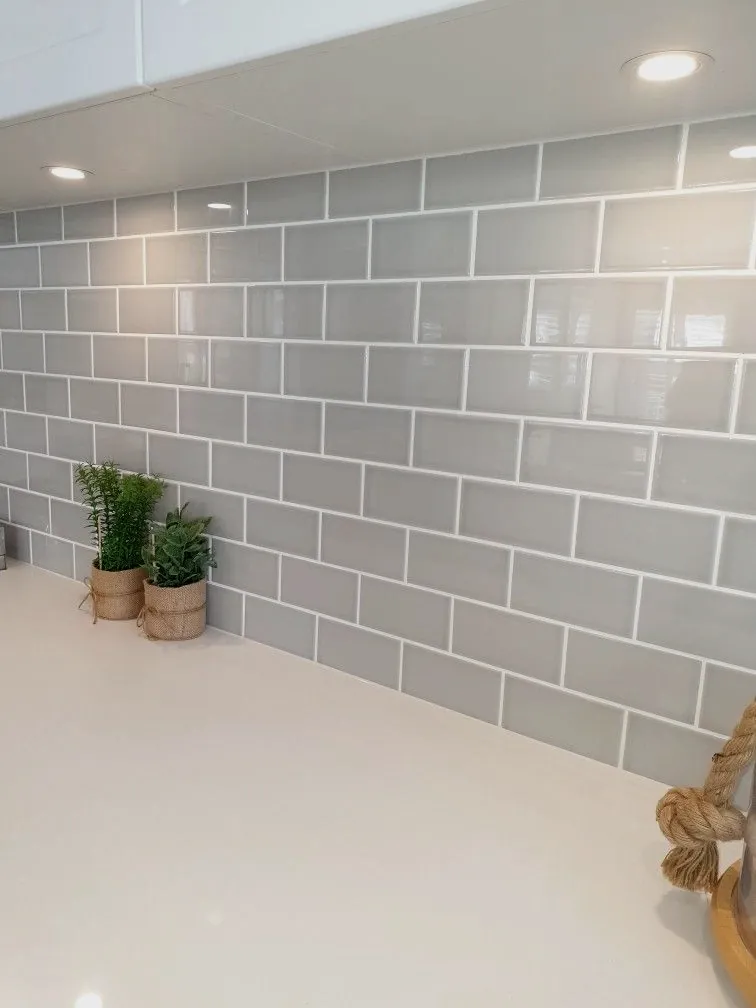
More tile work beyond the warm brick backsplash

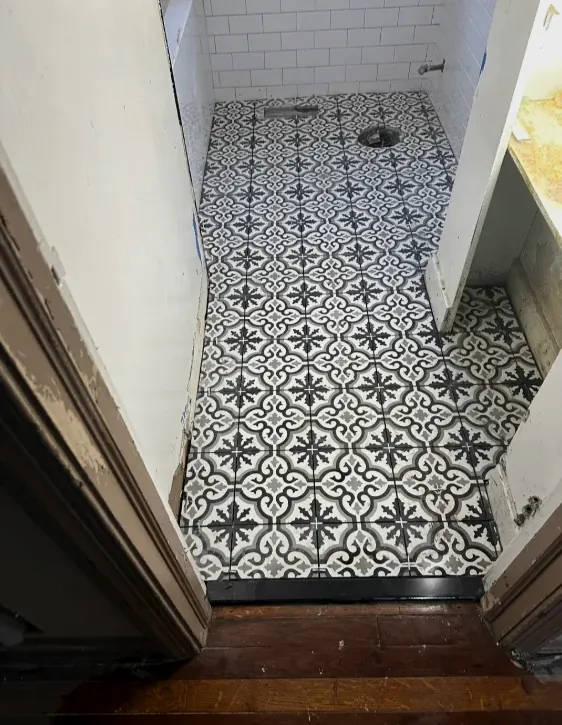

Tell us about the room
Name the room and what is on the floor or wall now.
Thanks. We’ll reply within one business day.
Your form is ready for another request in a moment.